
Well it's been a while since I've been able to do anything in the wood shop, I've had a hernia surgery and I am still recovering from it. Looking forward to being able to get back into the shop and start working on another project. But for now I'm going to have to heal .
Unleash Your Inner Woodworker
Welcome to Beginers Woodshop, your starting point for an exciting journey into the world of woodworking. Whether you're picking up a chisel for the first time or looking to refine your skills, we provide the resources, guidance, and inspiration you need to succeed. Discover the joy of creating beautiful and functional pieces with your own hands. Let's build something amazing together!
Well it's been over a week since I finished the desk, now I need to plan the next project, still have some walnut wood ready that's been planned and ready. I have been thinking about making a trunk . I have a picture of one or I have the plans for a steamer trunk . Think I will get started on it tomorrow
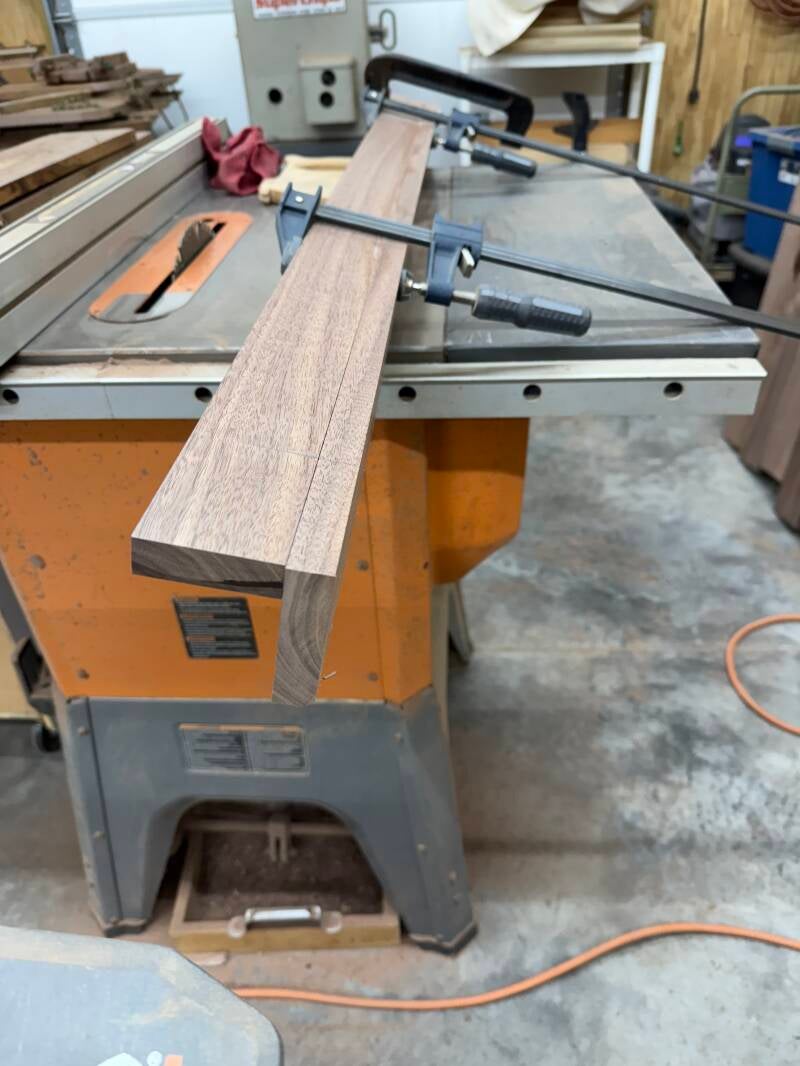
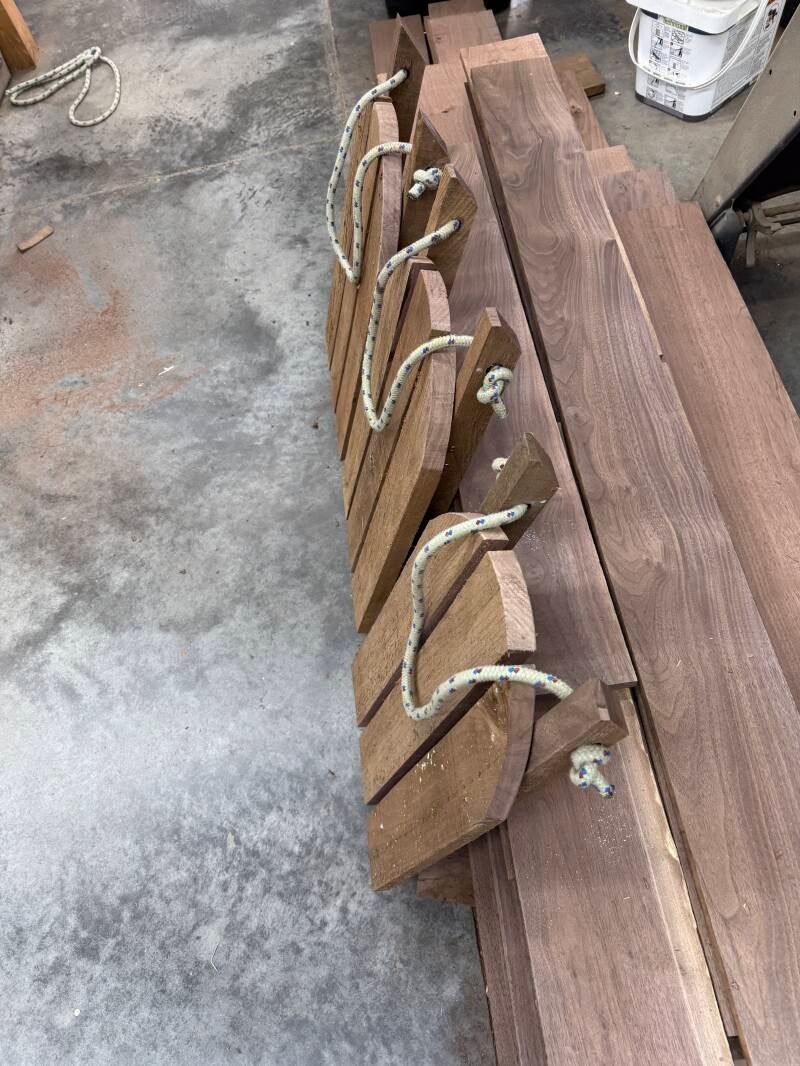
Started edging the walnut for the desk. even tho you might have both edges of you wood are not straight if you run one side on the edger until it is straight then you can run it across the table saw and get both edges true.
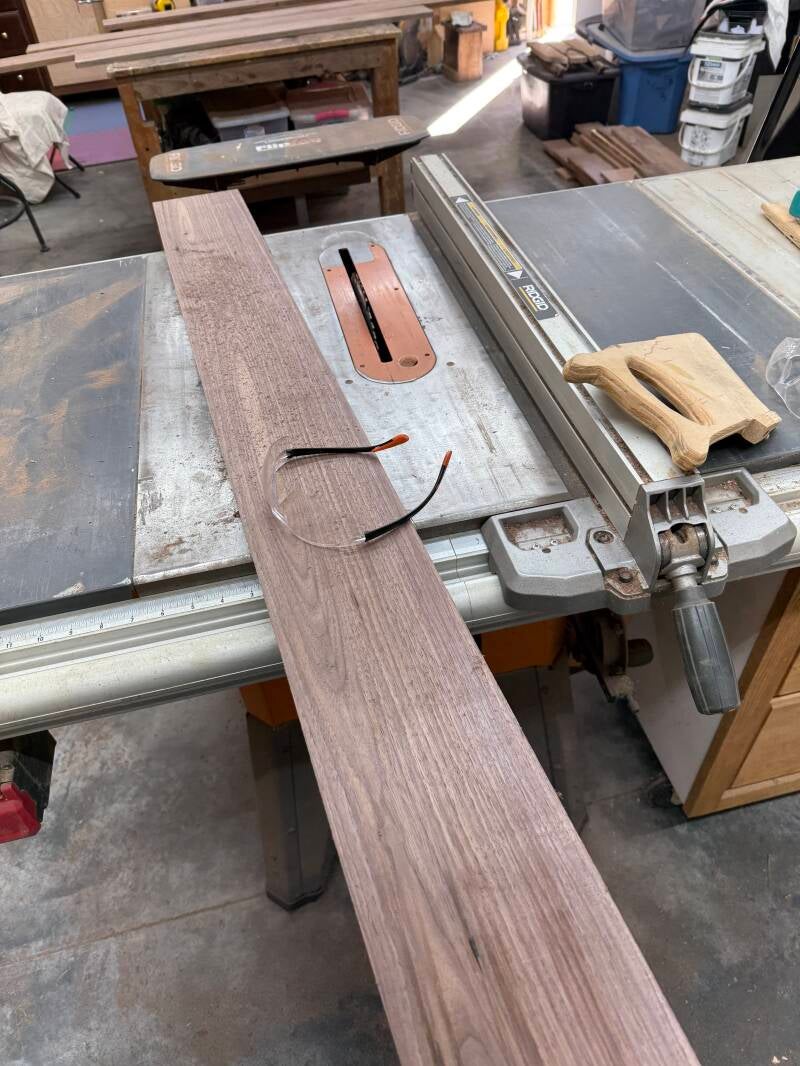
Haven't talked about safety much on my blog but it is very important to wear you safety glasses and ear protection and as you will see in my photos using a hand heald piece to feed the wood threw the table saw. Making sure that no hands come close to the blade.

Started sand in on the top and started with a heavy paper first 80 grid, I found some small knots and a few pits in my top I like to fill them with clear epoxy then sand it down. Work from 80 grid down to a finish paper of 240 grid this will give you a smooth finish in the end.
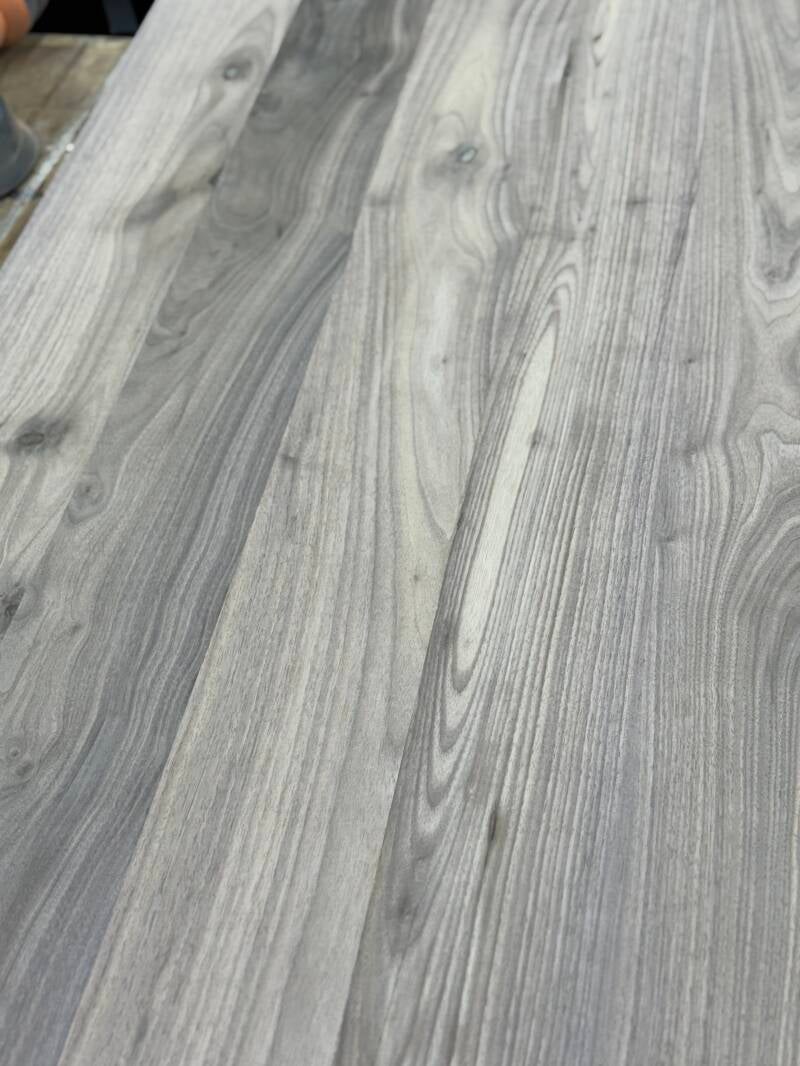
Taking the time to do the sanding on all the parts before you assemble it is well worth it at the end of your project. The desk being walnut doesn't need a stain so after the finish sanding it will be ready for the polyurethane.

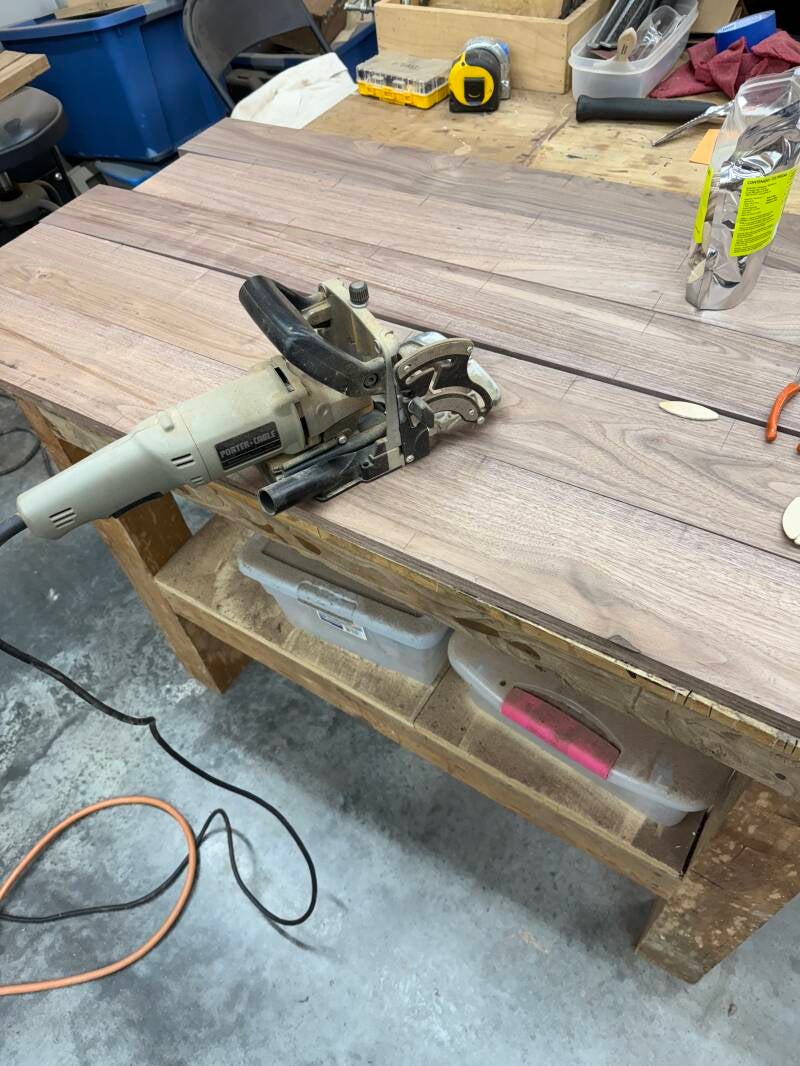
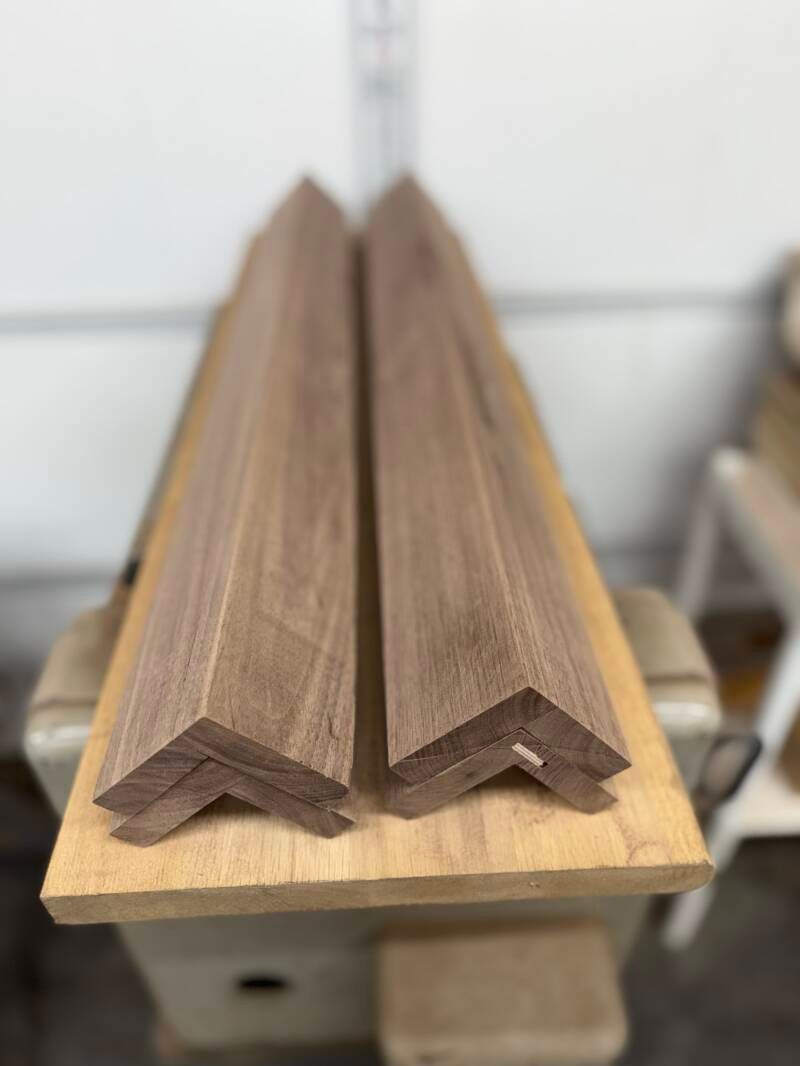
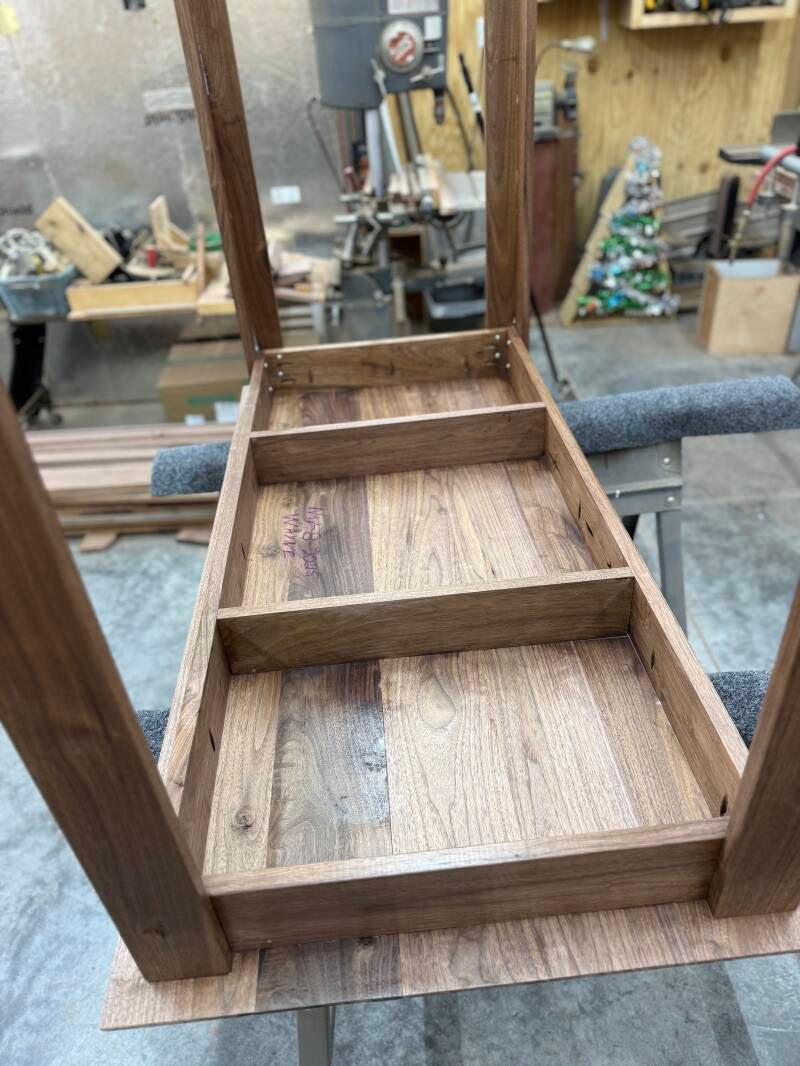
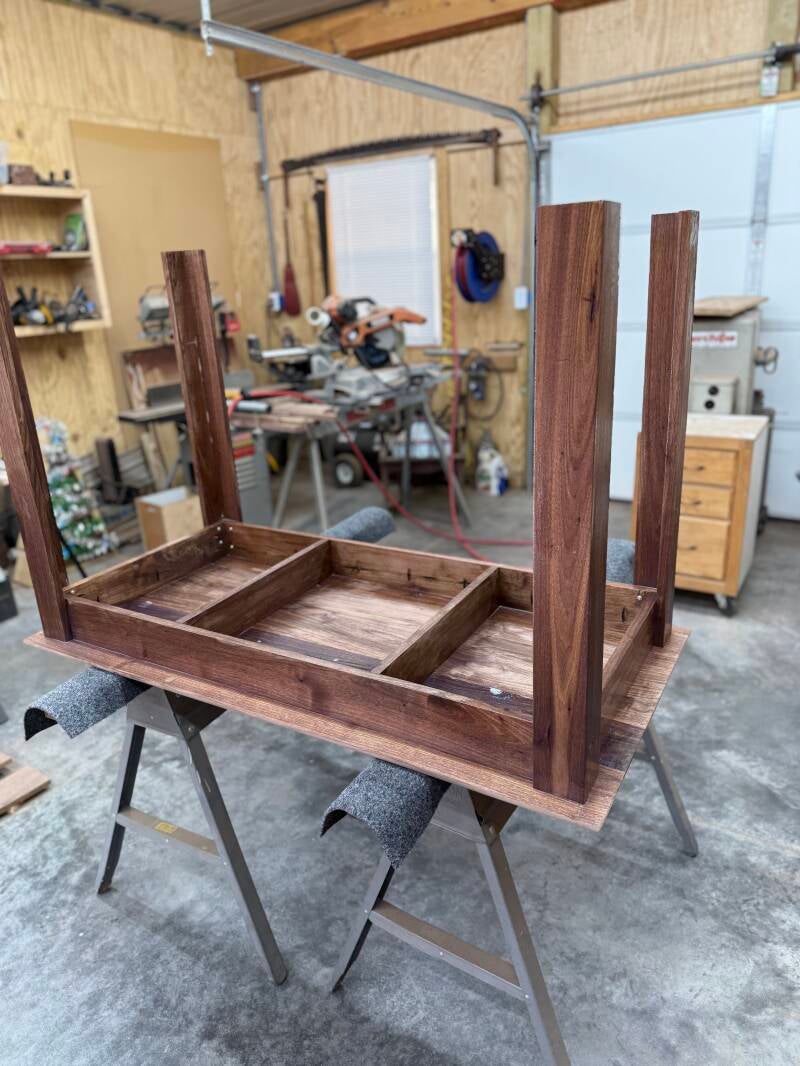
I have gotten the legs glued up and cut then down, but left them a little long so I could pick out the best ends to use. Ready to sand them now .
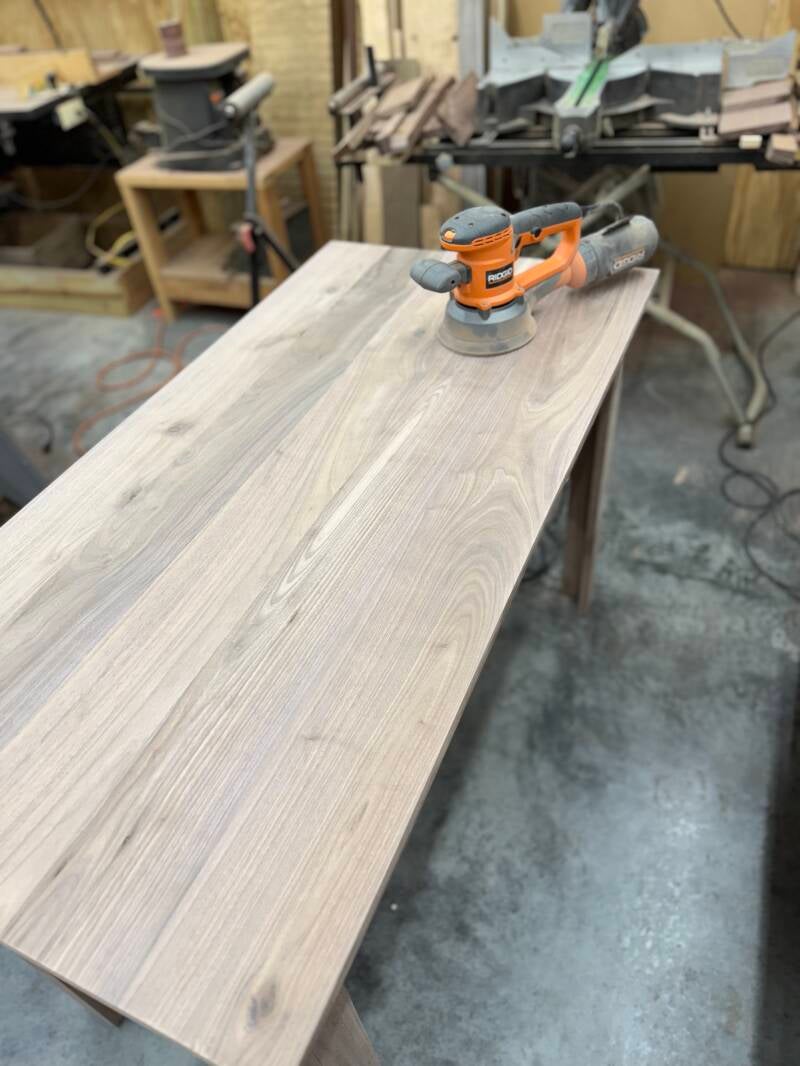
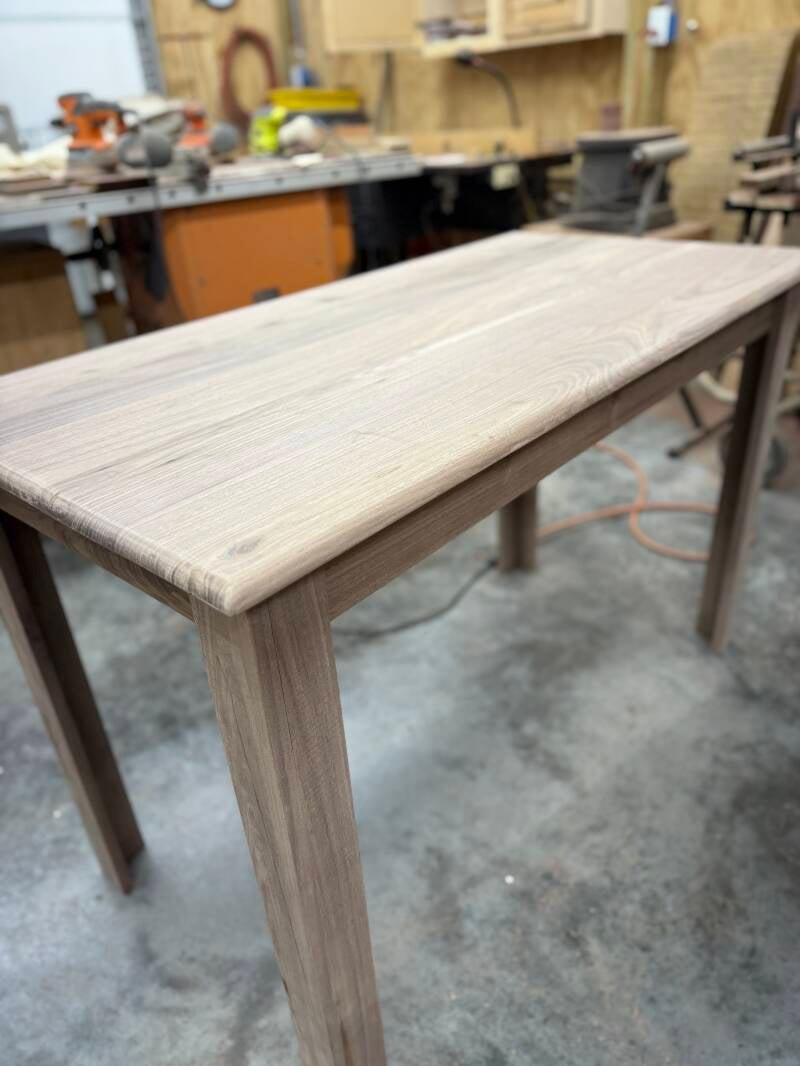
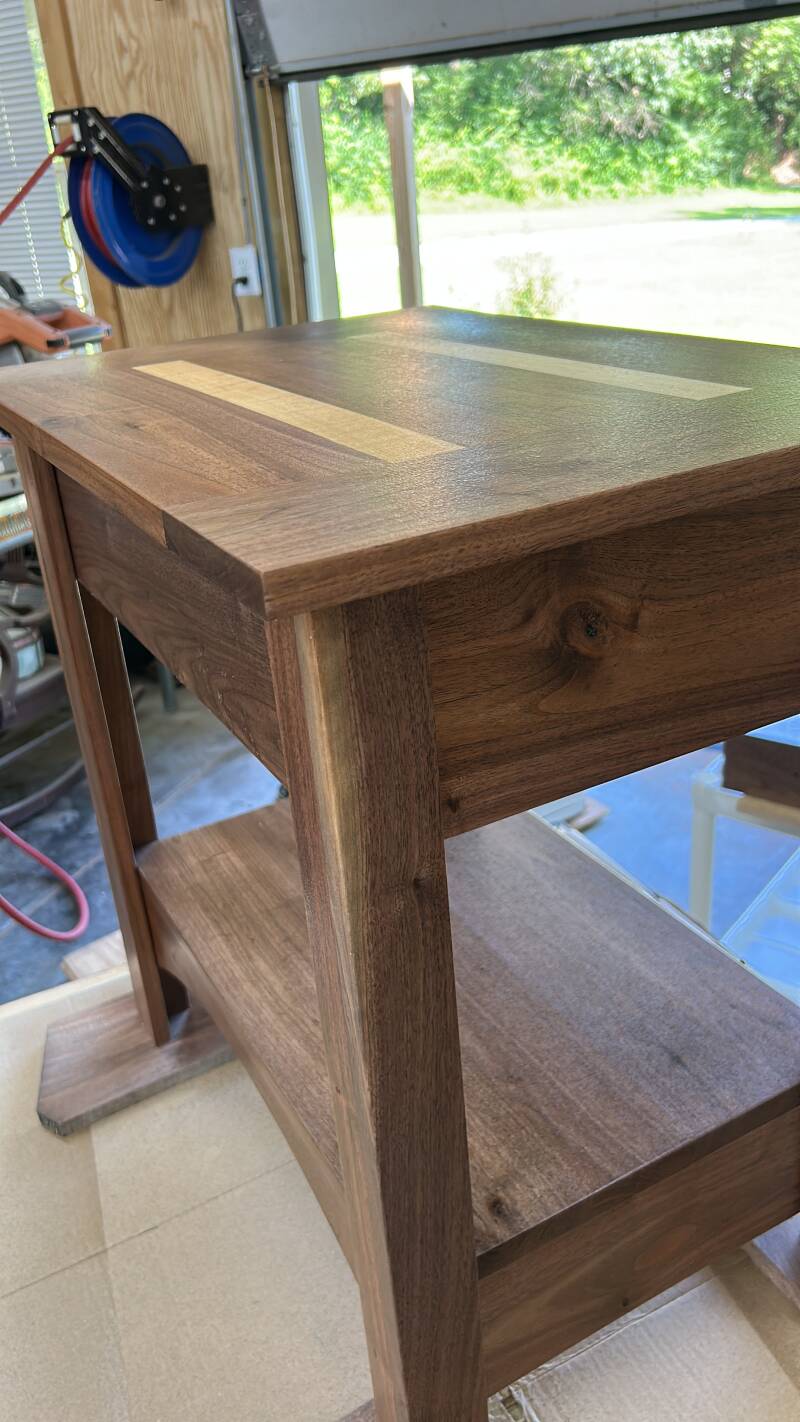
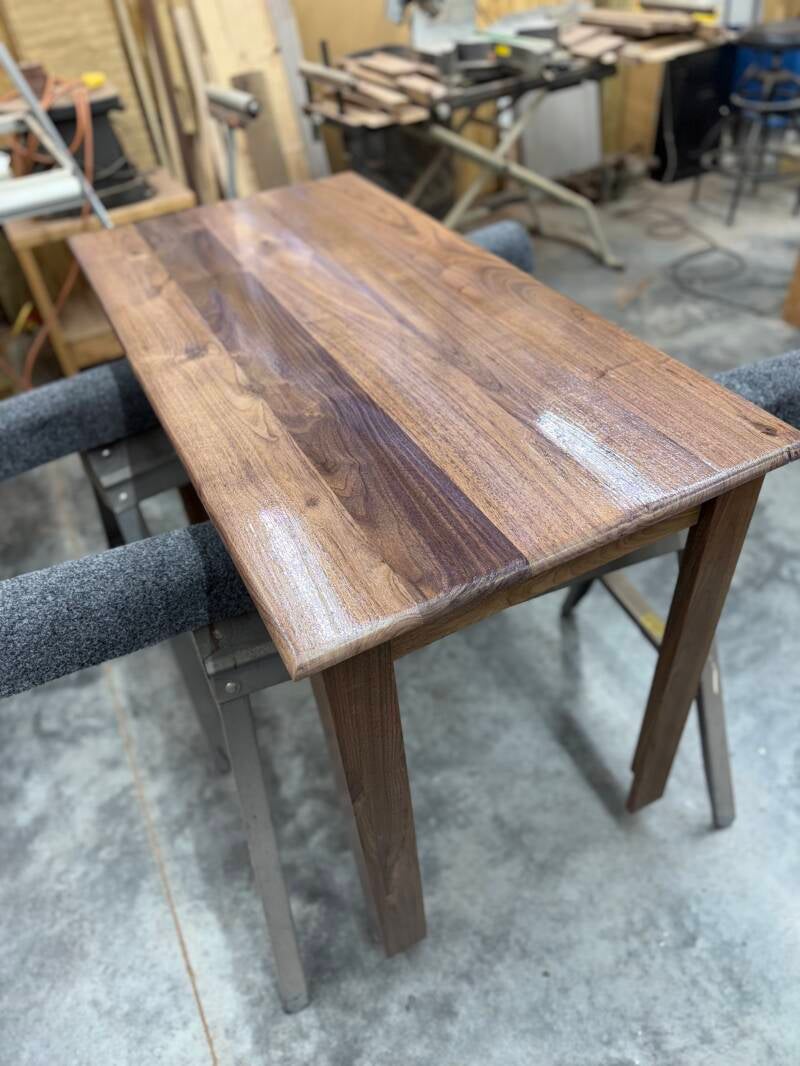
Looking good on the desk, pleased with the way that it has turned out so far, using a six-inch orbital sander on the top really makes sanding go fast and easy.
Started put on the finish today, water-based polyurethane, I chose to use clear gloss on this desk. Little trick I use between costs I use a brown paper bag as a sand paper just lightly wipe over the surface, this makes the finish lay down and if there's any small air bubbles it smooths them out. I have hvlp sprayer I normally use for the finish but the weather didn't allow me use it outside so I am brushing the polyurethane on .

Been a very cold day here in the 10 Th of November, I was able to get two coats of polyurethane on the desk top, but unless I turn my heater on I am going to wait until it warms up a little because the polyurethane is not drying good, and I won't end up with a good slick finish on it.
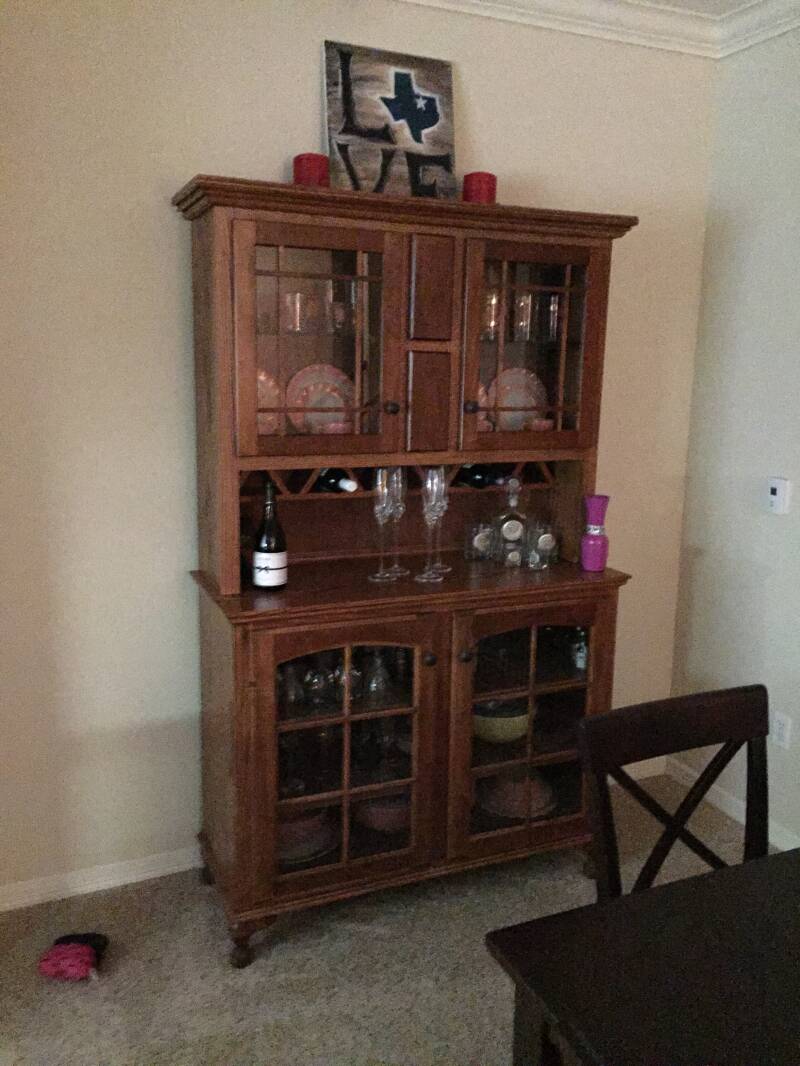
Desk is finally finished and in the house for me to use, now on to the next project
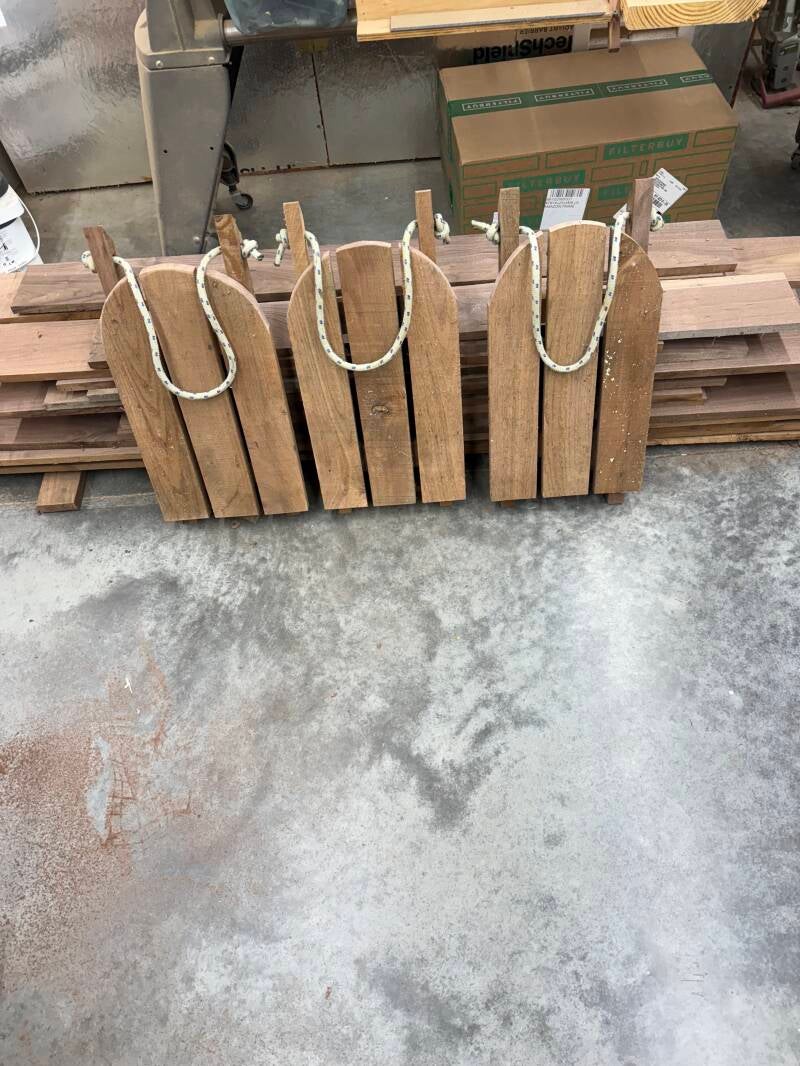
I'm really not into doing crafts, but I had some scrap walnut wood laying around and know Christmas is coming so I decided to make some Christmas gifts from it


About us
Beginers Woodshop is dedicated to making the art of woodworking accessible to everyone. We provide beginner-friendly tutorials, project plans, and tool guides to help you build confidence and develop your skills. Our passion is to foster a community of makers where everyone can learn, share, and grow. Discover the satisfaction of creating your own handcrafted treasures with Beginers Woodshop!